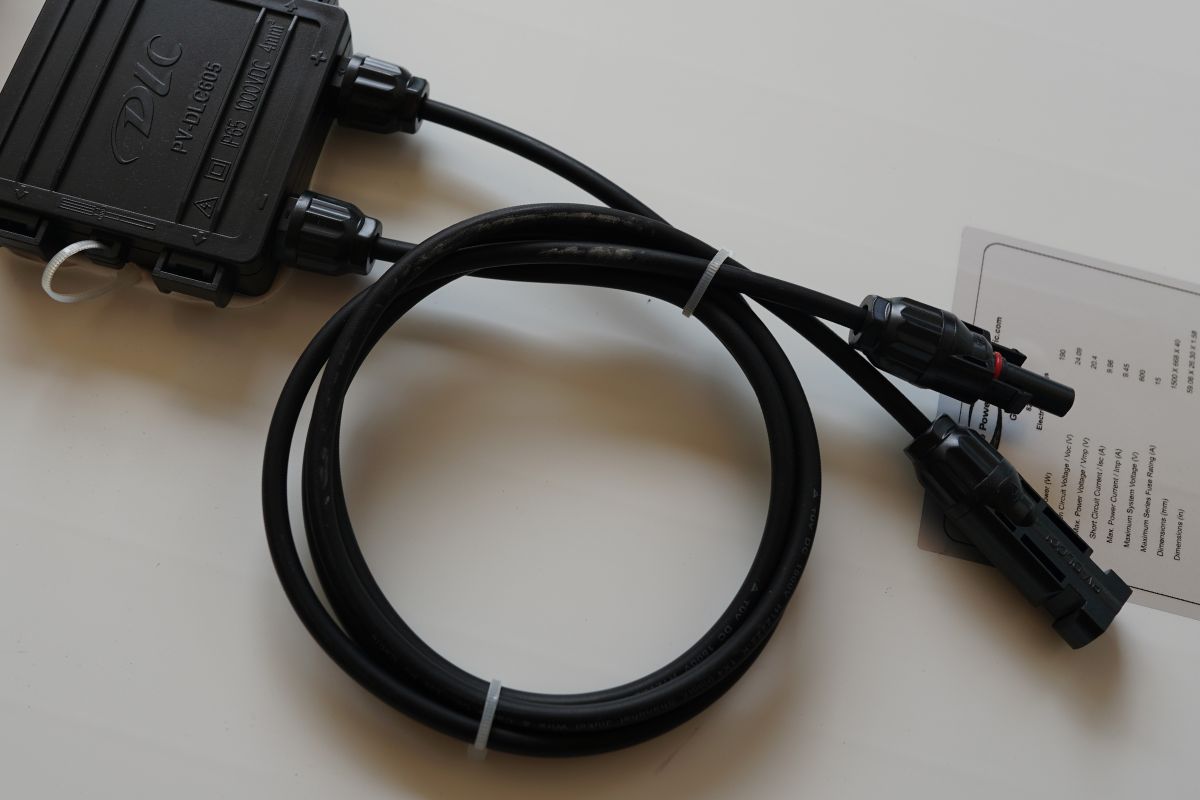
Finding Prewired RV Solar cables can Sometimes be a real challenge
Since the very beginning of the program of having RV’s be pre-wired for solar, it has been a real challenge for some customers to locate the wires to hook to the charge controller. They often know the location of where the charge controller is to be installed, but no wires can be found in the space.
RV manufacturers were really excited to embrace the program, but from feedback garnered from our customers, many manufacturers quickly deviated from the simplicity of the program in many instances. We have seen many different manufacturers install the pre-wired setups in different configurations. The best configuration is for a manufacturer to uses the Go Power cable entry plate with 25-foot cables that were color-coded with both red and black 10 AWG wire.
Wires are often left in other areas of the RV where customers have trouble retreiving them, in the real world many customers struggle to find the cables when they get the template cut. Read our helpful tips for find prewired solar cables in RVs.

Tips for manufacturers to make prewired for solar easier
Location pictures for template
Provide the customer clear picture showing the location of the charge controller installation point. Many times these stickers are removed in dealer prep or by a previous owner. Have an easy way to find pictures and incorporate into the next item.
Simple Diagram sheet available by RV model
It would be helpful for RV customers to have a sheet that offered a clear wiring diagram of how the prewire system was done in their RV. This would help them understand how to install the panels better in their fifth wheel, trailer or motorhome.
Wires with caps located near installation point
Make it simple, if there is a place to install the solar controller. Make it so when they cut the template the wires are easy to see and readily accessible.
Label The Wire Several times
Label the wires as follows along several points on the RV solar wire, but at least 2 times withing last 4 feet of wire.
- Array Positive From Solar
- Array Negative From Solar
- Battery Positive (Fused 40 Amp)
- Battery Negative
Fuse the Battery POSITIVE Cable
Make sure to fuse the battery cable on the positive leg coming from the battery. Label the solar cable with Fused and listing size opf fuse.
Sealing RV Roof Penetrations is key to dry installs
Roof penetrations in RVs, such as vents, skylights, or antenna mounts, can become potential leak sources if not sealed correctly. Over time, the sealants can deteriorate due to exposure to elements, leading to moisture ingress. Regularly inspecting and addressing these areas is vital. Quality sealants like butyl tape or self-leveling lap sealants ensure a watertight bond. It’s crucial to clean the surface thoroughly before application for optimal adhesion. Periodic maintenance not only prevents damaging leaks but also extends the lifespan of the RV’s roof, safeguarding your investment and ensuring worry-free adventures.
Using a Borescope to Locate prewired Solar Panel Wires in an RV Wall
RV prewired solar involve running wires through walls, behind panels, and into tight spaces at the factory. Finding them and accessing them without causing damage can be a challenge. Enter the borescope — a tool that’s swiftly gaining popularity among RV enthusiasts for such tasks.
A borescope, known as an inspection camera, consists of a flexible tube with a tiny camera and light on the end. This tool allows you to peer into the hidden recesses of your RV without causing unnecessary damage. It’s handy for locating solar panel wires concealed within walls, as it provides a real-time visual feed of the interior spaces, making the search less invasive.
Steps to Use a Borescope for Finding Hidden Wires:
-
Prepare the Area: Ensure the RV’s power is off, especially if working close to electrical components. Safety should always be paramount.
-
Insert the Borescope: Begin by inserting the borescope into any existing openings or gaps. This might include using ventilation grates, electrical outlets, or other small penetrations. The goal is minimal impact, so avoid creating new holes if possible.
-
Search Methodically: Move the borescope slowly and methodically, watching the feed on the connected display. The brightly lit tip will illuminate the hidden spaces, making wires and other components visible.
-
Document Findings: Capture images or videos of crucial spots. Keeping track of where you have looked can help plan any subsequent repair or modification work.
-
Extract Carefully: Once you’ve located the wires or completed your inspection, gently remove the borescope, ensuring no internal components are disturbed. This will allow placing charge controller and wiring in solar panels.
Opting for a borescope minimizes the need for drilling new holes or removing large sections of the wall. This approach is not only less destructive but also saves time and potential repair costs.
In conclusion, using a borescope to find solar panel wires hidden within your RV is a prudent strategy. It marries technological advancement with respect for preserving the integrity of your beloved mobile abode. Always prioritize safety and consider professional help if you are concerned with safe or complete work ability.
